setup
For the club officer who stands the event up, not the volunteer holding a link. The volunteers' pages are here.
Everything here happens in a browser at /setup - opening the bare
address of the server lands there too. Two things stay in a
terminal and nothing else: your club callsign in a file called .env, and
starting the server.
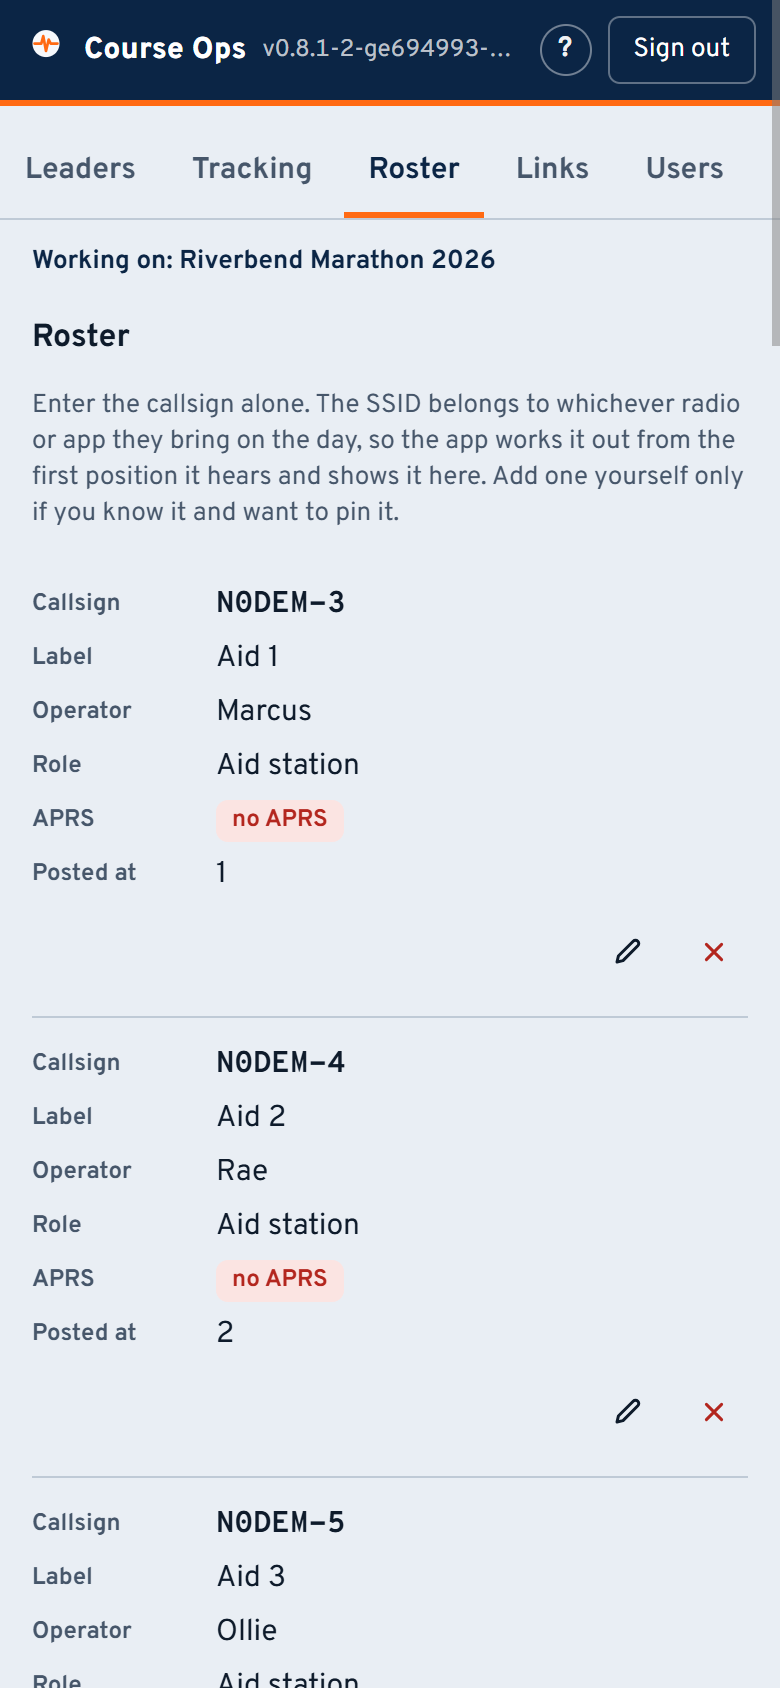
It works on a phone as well as at a desk. The tabs become one row you slide sideways, and every table becomes a stack of cards, one per row, each value labelled - so a callsign can be fixed from the car park on race morning.
Setting up, in four parts
- The course - you are here
- Roster and links - the people, and how they get in
- Race week and after - tracking, the rehearsal, the report
- Making it yours - layers, roles, and what else this can do
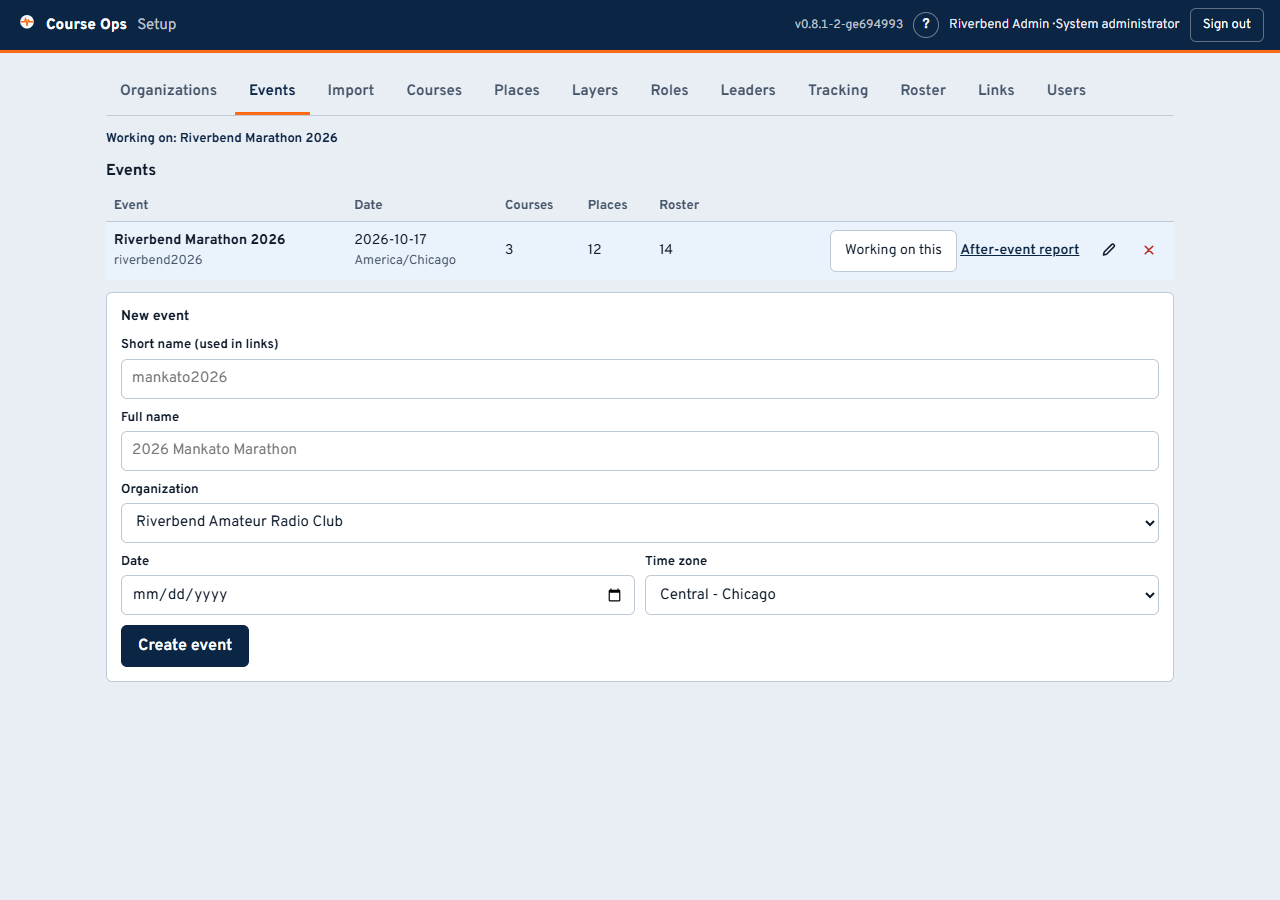
The tabs run roughly in the order you will use them. Every tab except Organizations, Events and Users belongs to one event - the one named in Working on: at the top.
The ? in the header opens the right one of these four pages for the tab
you are on, in a new tab.
An organization is your club. It owns its events and its administrators and cannot see another club's - so a second club on the same server is properly walled off, not just tidily separated.
Then Events: a short name, a full name, the date, and the time zone. Get the time zone right, because every clock in the app and in the after-event report is drawn in it.
The short name is permanent. It is in
/e/<short-name>/<link>, which means it is in every link you have handed out. The full name can be changed whenever you like; the short name cannot, because changing it would 404 every volunteer at once, silently, on the morning they need it.
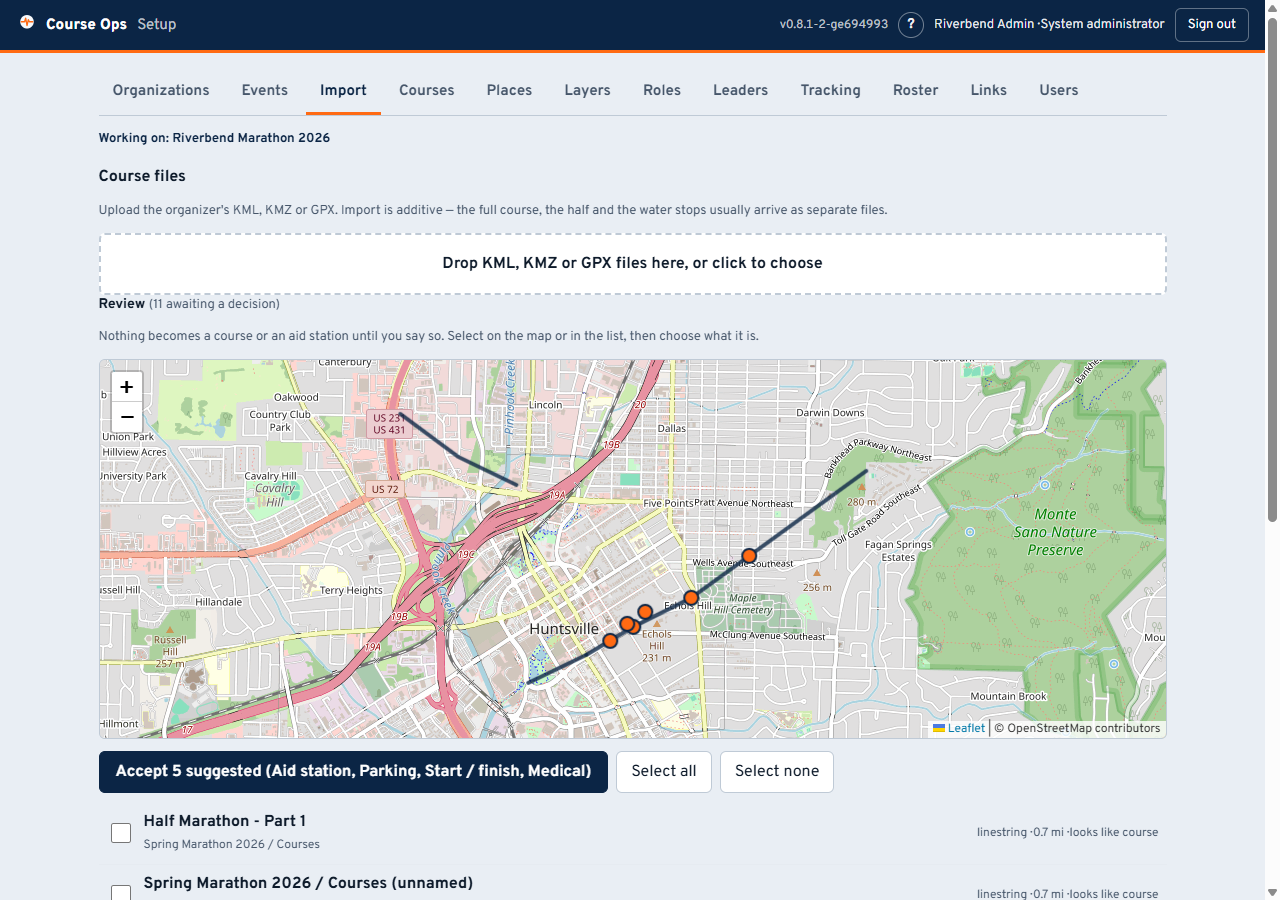
Drop in the organizer's KML, KMZ or GPX. Import is additive - the full course, the half and the water stops usually arrive as three separate files from three different tools.
Nothing becomes a course or a place until you say so. Everything lands in a review list, drawn on a map, and you classify it. That is deliberate: organizer files routinely contain a parking lot named the same as the route, and a suggestion confident enough to file it as an aid station would be wrong in a way nobody notices until race day.
The screenshot above is a real export's defects: three placemarks, all named "Example Marathon", one of them the route and two of them markers. The app says looks like course and looks like start and leaves the decision to you.
Look at the map before you assign anything. A course split into five segments, a stray line miles from the route, or a start marker in the wrong car park is obvious there and invisible in a list of names.
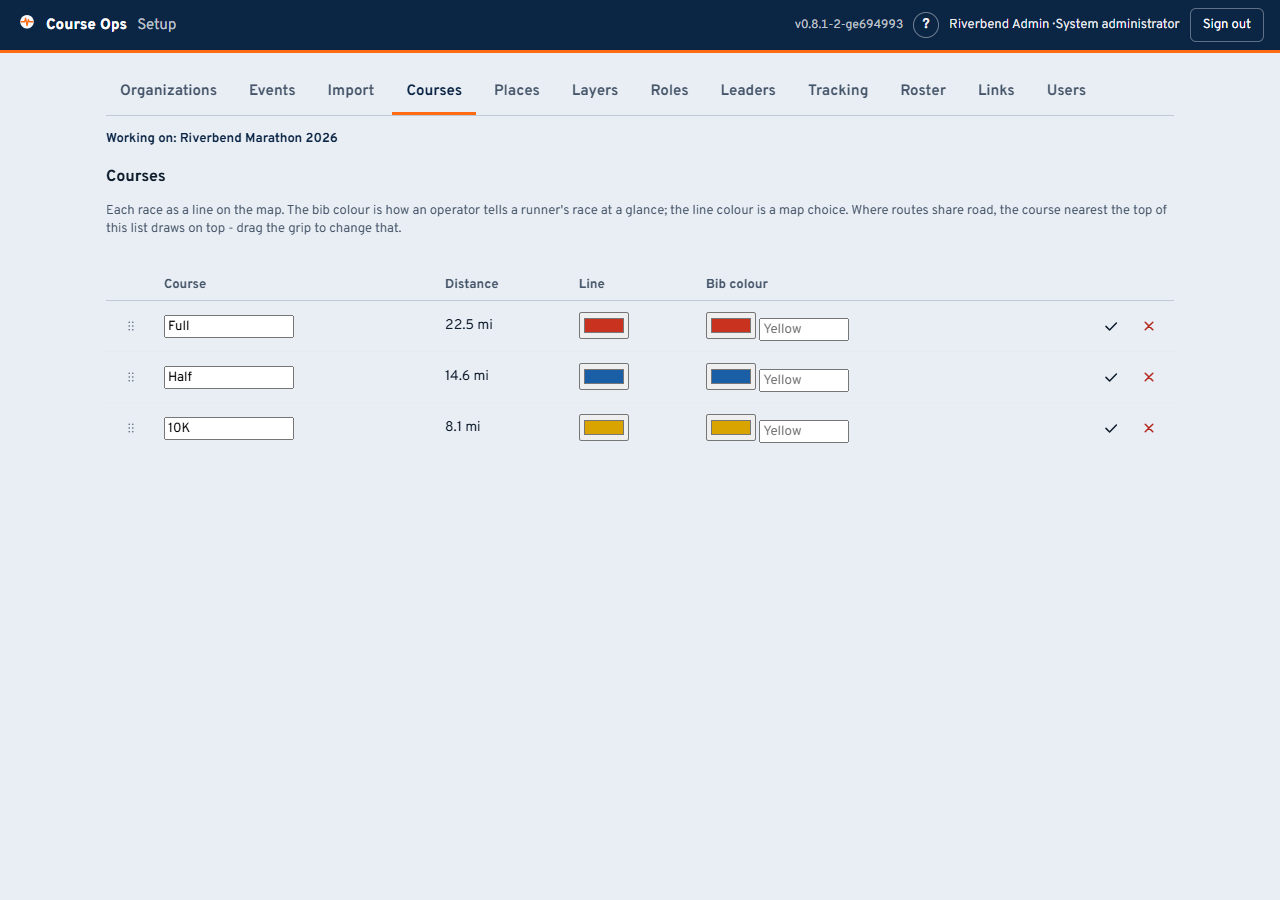
Each race gets a line colour and a bib colour, which are two different things: the line colour is a map choice, the bib colour is how an aid station operator says "first yellow male just came through".
Where routes share pavement, the course nearest the top of this list draws on top. Drag the grip to change it. That is the order everyone starts with; any viewer can re-stack their own screen without affecting anybody else.
Check the distance. If a course reads 3 mi when it should read 13, segments are missing or one belongs to a different route.
Which leaders you follow round each of these races - first male, first female, a wheelchair leader - is on its own tab, and is covered in Making it yours.
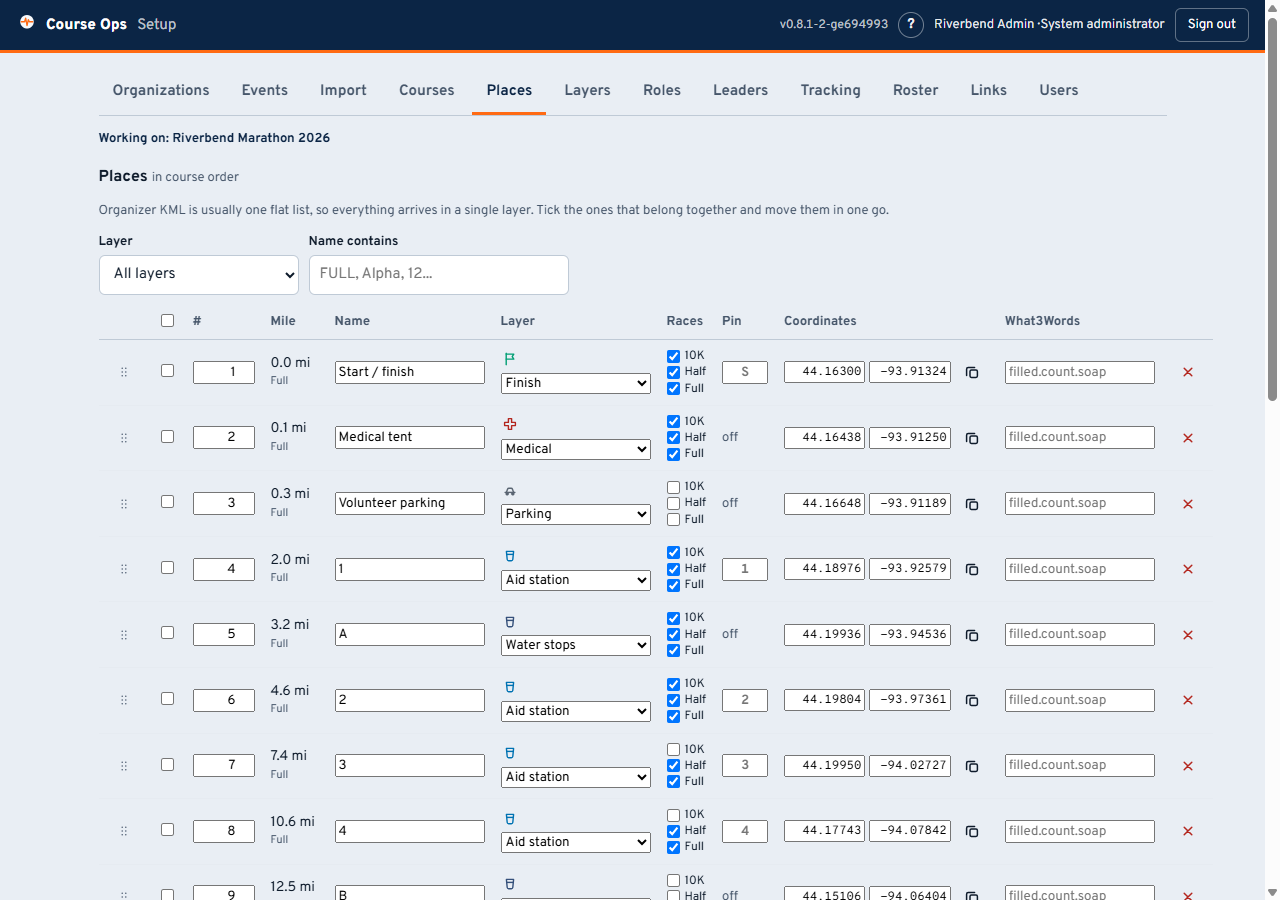
Every point on the map lives here. What each column is for:
- # - the club's own running order. Geometry cannot work this out once an event has more than one route: each place snaps to whichever line is nearest, and where races share road that is a coin flip. Drag or type to set it.
- Layer - which kind of place this is. Change one, or tick several and move them together, which is what you will do after an import (organizer files arrive as one flat list). The layers themselves are yours to invent - see below.
- Races - which races this stop serves. State it; do not let it be guessed. One water stop routinely serves three races - the organizer's file will literally say "WATER (ALL)" - and guessing drops it from every race whose line happens to run further away.
- Pin - the one or two characters drawn on the pin. Derived from the name, and only worth typing when the guess comes out wrong.
- what3words - optional, typed in by hand. Aid stations sit at park entrances where a street address is useless.
Some race groups do not hand over a good map, and some hand over one with no water stops on it at all. A 5K, a parade, or a vehicle race may have people standing at points with nothing to import in the first place.
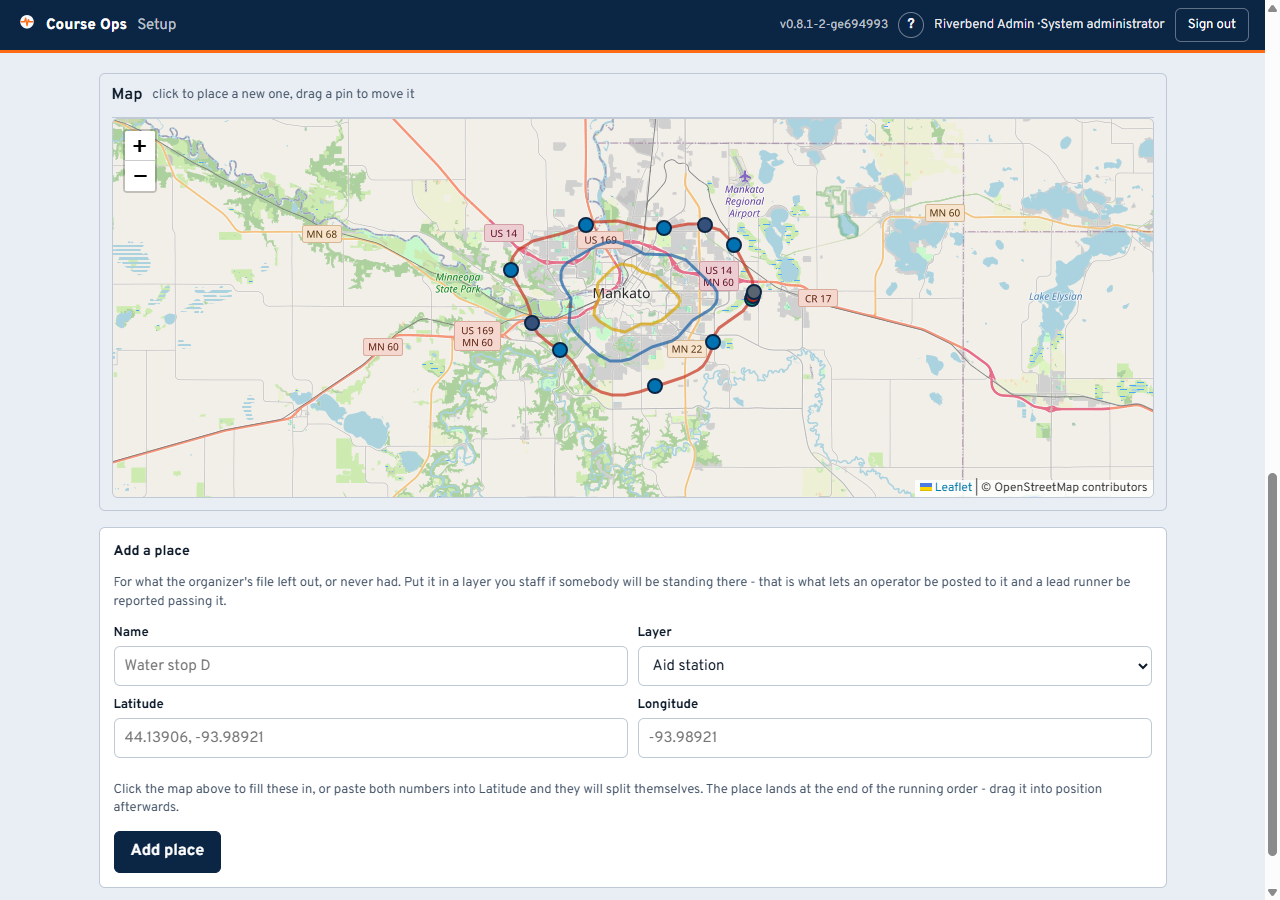
Click the map where the place goes. That fills in the coordinates below it and drops a dashed pin so you can see what you picked; name it, choose a layer, and press Add place. Nothing is created until you do, so a stray click costs nothing.
The routes are drawn underneath, which is the point - a water stop goes somewhere along one, and a blank map gives you nothing to judge that against.
If you would rather type: paste the coordinates into Latitude and both numbers split themselves across the two boxes, so you can copy straight from a phone or a mapping site without picking the string apart.
Put it in a layer you staff if somebody will be standing there. That is what lets an operator be posted to it and a lead runner be reported passing it; an unstaffed place is a pin on the map and nothing more. Staffed layers are listed first for that reason.
The new place lands at the end of the running order, where you will see it. Drag it into position afterwards.
Places can also be moved. Drag its pin on the map, or type into the two boxes in the Coordinates column - either way a place the organizer's file put in the wrong spot can be moved without re-importing anything.
Dragging a pin does not save on its own. It fills in that row's coordinates and the table's Save button appears, the same as any other edit - so you can nudge several places and save them together, and nothing is written until you say so. Everything else follows from position - the mile figure, which race it snaps to, where the pin draws - so fixing it fixes all of them at once. Latitude first, then longitude; the app refuses a latitude outside -90 to 90, which is what catches the two pasted the wrong way round.
Next: Roster and links - who is out there, and how they get in.